

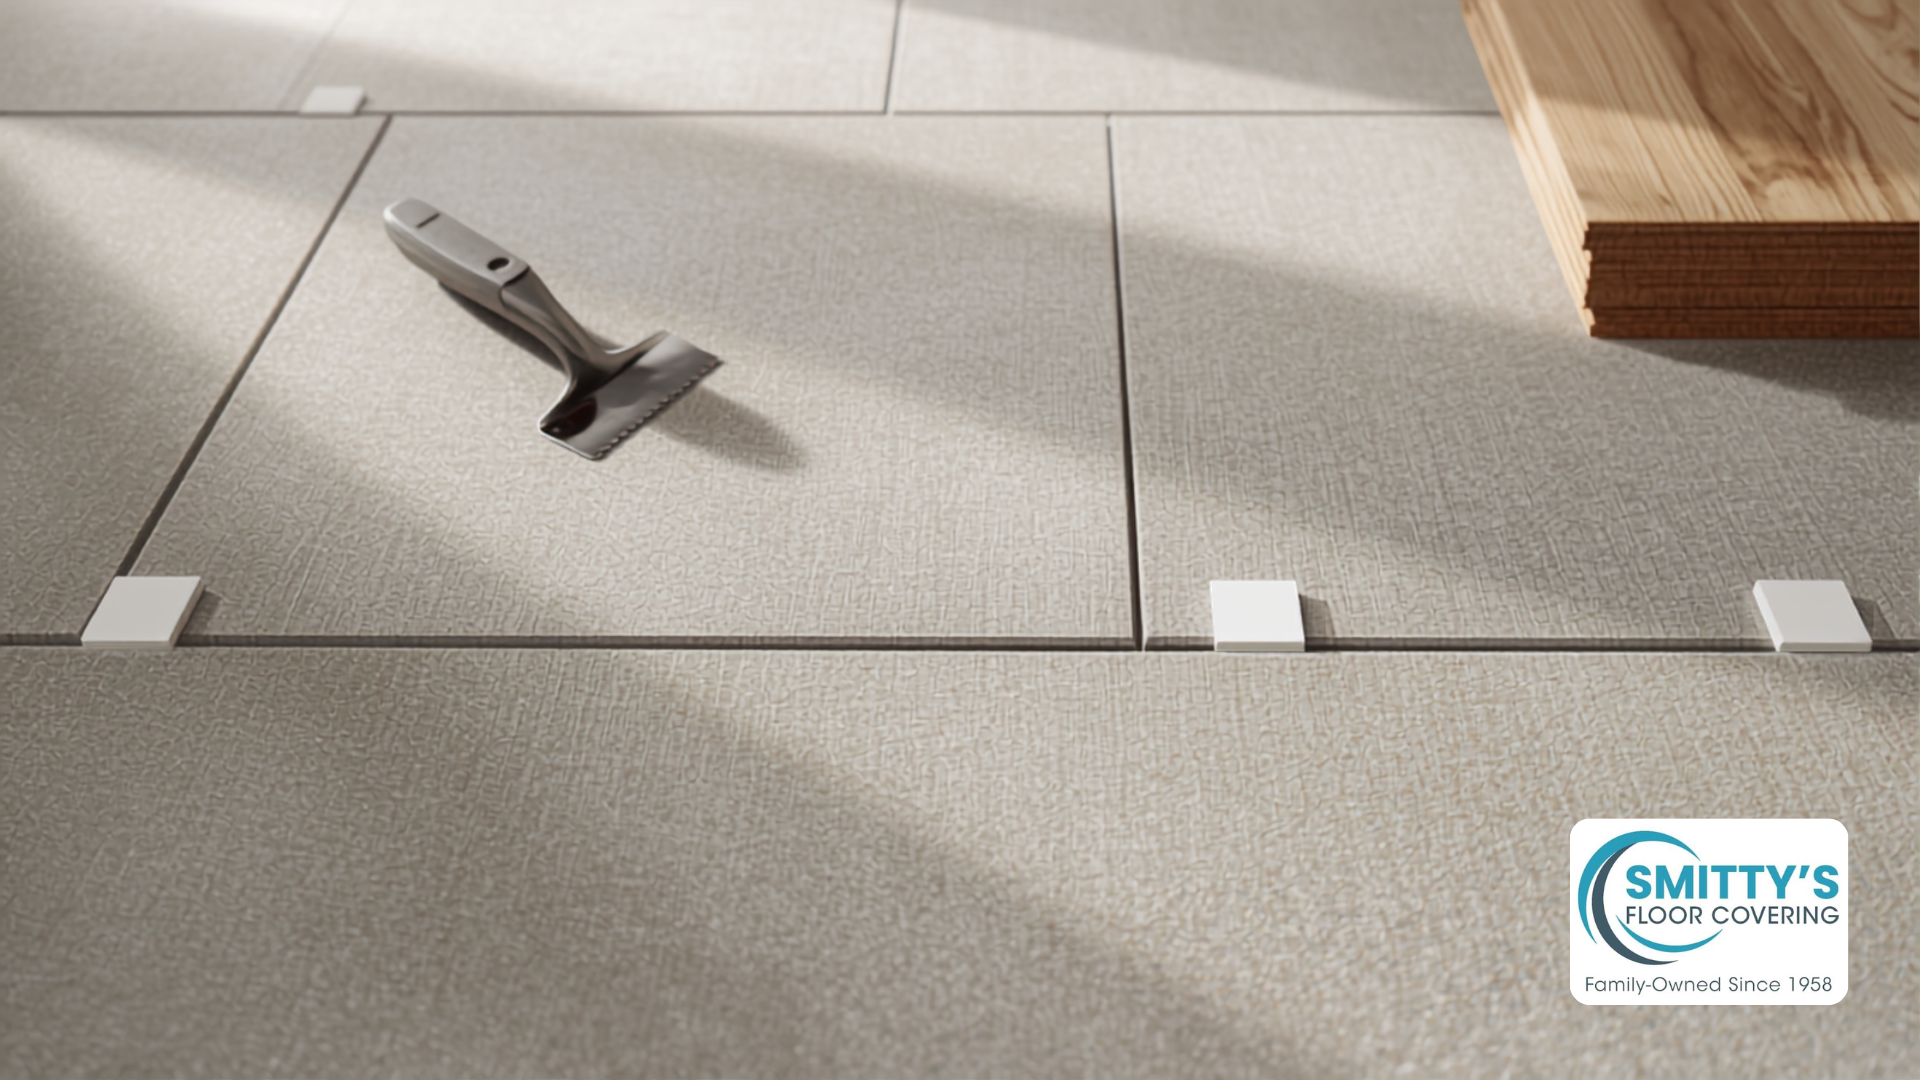
Tile should not be installed directly over a hardwood floor. Tile and grout need a rigid, flat, stable base, and a hardwood floor is none of those things: it swells and shrinks with humidity, flexes between the joists, and has a finish that mortar cannot grip. In almost every home, the right way to put tile where hardwood is now is to remove the wood down to the subfloor or slab, confirm the structure is stiff and flat enough, add the correct tile underlayment, and set the tile on that. If removing the wood is off the table, a refinish or a tile-look luxury vinyl is usually the smarter move.
About this guide: Written by the flooring team at Smitty’s Floor Covering in Denton, TX, family owned since 1958 and the oldest family-owned floor covering business in Denton County. We sell and install tile, hardwood, luxury vinyl, laminate, and carpet, and we handle subfloor repair and kitchen and bath remodeling. The standards cited here come from the Tile Council of North America (TCNA) Handbook and the ANSI A108 and A137 tile installation standards.
- Can you put tile on top of wood floors? Not directly. Remove the hardwood first in nearly every case.
- What goes under tile instead? Clean concrete, or a stiff wood subfloor topped with cement backer board or an uncoupling membrane.
- How stiff must the floor be? Deflection no more than L/360 for ceramic and porcelain, L/720 for natural stone.
- How flat? Within 1/4 inch in 10 feet for standard tile and 1/8 inch in 10 feet for large-format tile.
Why Tile Can’t Go Directly Over Hardwood
People ask whether they can tile over their wood floor for understandable reasons: tearing out flooring is work, and the wood looks solid. The trouble is that tile fails in slow motion. The first cracked grout line or hollow-sounding tile might not show up for months, and by then the fix means starting over. Here is what goes wrong.
Wood moves with the seasons
Solid hardwood strips expand across their width as they absorb humidity and shrink as they dry. In North Texas that cycle runs through humid spring storms, air-conditioned summers, and dry, heated winters. Tile and cement-based mortar do not move with it. When hundreds of small boards shift under a rigid tile surface, stress concentrates at the grout joints and tile edges, and something gives.
A finished floor is not a bonding surface
Thin-set mortar bonds by gripping a porous, clean surface. A hardwood floor wears a coat of polyurethane or oil finish, often with years of cleaner residue on top. Even sanded, the wood offers a poor, unstable bond compared with concrete, cement board, or a membrane designed for tile.
Too much flex cracks tile and grout
Hardwood adds almost no stiffness to a floor system. If the joists and subfloor bounce, the tile rides that bounce, and brittle materials crack where the movement peaks. Tile industry standards set strict stiffness limits for exactly this reason.
Wet rooms make it worse
Kitchens, baths, and laundry rooms are the places people most want tile, and they are where water finds its way through grout, around toilets, and under dishwashers. Wood under tile that gets wet swells, and the swelling lifts and cracks the tile above it.
What Tile Installation Standards Require
Professional tile setters in the United States work from the TCNA Handbook and the ANSI A108 installation standards. You do not need to memorize them, but three requirements explain why hardwood is not an acceptable base.
- Stiffness (deflection). The floor may flex no more than its span divided by 360 (written L/360) under design loads for ceramic and porcelain tile, and no more than L/720 for natural stone, which is less forgiving.
- Flatness. Under ANSI A108.02, the surface should vary no more than 1/4 inch in 10 feet for tile with all edges shorter than 15 inches, and no more than 1/8 inch in 10 feet when any edge is 15 inches or longer.
- Mortar coverage. ANSI A108.5 calls for at least 80 percent mortar contact under tile in dry interior areas and 95 percent in wet areas, with full support at corners and edges. Uneven, flexing wood makes that coverage hard to achieve and keep.
See how small the stiffness allowance really is for your floor’s span:
Joist span is the distance between supports (a wall, beam, or girder). The result is the most the floor may bend under load and still be suitable for the tile you choose.
L/360 on a 12 ft span = 144 in / 360. That is about the thickness of 13 credit cards stacked.
This shows the limit, not your floor’s actual deflection, which depends on joist size, species, grade, and spacing plus the subfloor. An experienced installer or engineer confirms it on site.
A hardwood floor layered on top does not change the math in any meaningful way. What changes it is the structure: joist size and spacing, the subfloor thickness, and whether a second layer of plywood is added.
The Layers Under a Properly Built Tile Floor
A durable tile floor over a wood-framed house is a system of layers, each with a job. Tap each layer to see what it does.
Tile. Porcelain is dense, with water absorption of 0.5 percent or less under ANSI A137.1, which makes it the go-to for floors. Ceramic is a little softer and more absorbent but still a fine floor tile in dry rooms.
Grout. Fills the joints and locks tiles together visually, but it is not structural and not waterproof on its own. It is usually the first thing to crack when the floor underneath moves.
Thin-set mortar. The adhesive bed. It is troweled with a notched trowel and needs solid contact, at least 80 percent in dry areas and 95 percent in wet areas, to carry loads without hollow spots.
Cement backer board or uncoupling membrane. The tile-ready surface over wood. Backer board is set in mortar and screwed down; an uncoupling membrane is a thin sheet that absorbs small movements between the wood and the tile. Either one replaces the job people hope the hardwood could do.
Subfloor. Plywood or OSB fastened to the joists, commonly 3/4 inch tongue-and-groove in modern homes. For tile, many installers add a second layer to stiffen older or thinner subfloors, especially under natural stone.
Joists. The framing that sets how much the floor bends. Sagging, notched, or undersized joists must be addressed before any tile goes down.
Movement joint. A flexible sealant joint at the perimeter and where tile meets other materials, per the TCNA guideline often called EJ171. It gives the floor room to expand without tenting tiles.
In slab homes, which are common across Denton County, the concrete replaces the joists, subfloor, and backer board. That is good news for tile: a clean, flat, sound slab is an excellent base, with a crack isolation membrane added wherever the concrete has cracks.
Does Your Hardwood Have to Come Out?
In practice, yes. What changes is what you find underneath and how much preparation follows. Answer three questions to see the route that fits your floor.
Remove the wood and scrape or grind away the old adhesive until you reach clean, sound concrete. Check cracks and flatness, add a crack isolation membrane over any cracks, and set tile directly in thin-set. Expect the tile to finish close to, or slightly below, the old wood height.
Slab homes: remove the wood and the adhesive
Engineered hardwood glued to a slab is common in newer Denton County construction. Once the planks come up, the old adhesive has to go as well; residue interferes with the thin-set bond. Adhesive is scraped or ground off until the concrete is clean. Cracks are evaluated, since North Texas clay soils can move slabs, and covered with a crack isolation membrane so a hairline crack in the concrete does not become a crack through the tile.
Wood-subfloor homes: remove the wood and inspect what is under it
Older pier-and-beam homes and second stories have wood subfloors. With the hardwood gone, the installer checks for water damage, rot, and loose or squeaky panels, repairs them, and confirms the subfloor is thick and stiff enough for tile. Our articles on what a subfloor does and how it is prepared and why leveling and a sound subfloor matter explain this stage in more depth.
What about engineered or floating wood floors?
A floating engineered floor is actually the easiest case to remove, because it is not glued or nailed. It still cannot carry tile: it is designed to move as one piece over a pad, which is the opposite of what tile needs.
Getting the Floor Flat Enough for Tile
After the wood is out, flatness is the next gate. Lay a straight 10-foot board or level across the floor in several directions and measure the largest gap beneath it. Then check it here:
The floor meets the ANSI A108.02 flatness guideline of 1/4 in in 10 ft for this tile size. Small dips can still be skim-coated for a better bed.
Low spots are filled with patching compound or self-leveling underlayment; high spots on concrete are ground down. Large-format tile is popular for its clean look, and our article on rectified tile edges explains why those big, precise tiles also demand the flattest floors.
How Floor Height Changes When Tile Replaces Hardwood
Swapping 3/4 inch hardwood for tile rarely leaves the floor at exactly the same height, and the difference affects more than the transition to the next room.
| Situation | Old floor | New tile assembly | Typical result |
|---|---|---|---|
| Glued engineered wood on a slab | 3/8 to 3/4 in wood | Tile plus thin-set, about 1/2 in | Similar or slightly lower |
| Solid hardwood on plywood, backer board route | 3/4 in wood | 1/4 in backer, mortar, tile: about 7/8 in or more | Slightly higher |
| Solid hardwood on plywood, membrane route | 3/4 in wood | Membrane, mortar, tile: about 5/8 to 3/4 in | Close to the same |
| Second plywood layer added for stiffness | 3/4 in wood | Plywood plus tile assembly: over 1 in | Noticeably higher |
- Dishwashers and appliances. A higher kitchen floor can trap a dishwasher under the countertop. Plan tile under the dishwasher opening, or verify clearance, before the tile goes in.
- Doors. Interior and exterior doors may need trimming to swing over a taller floor.
- Toilets and vanities. A new floor height means new toilet flange height and sometimes a longer drain connection.
- Transitions. Every place the new tile meets carpet, wood, or vinyl needs a transition sized to the height change.
The Best Tile for Rooms That Used to Be Hardwood
If you are replacing wood because of water damage or a remodel, choose tile for the room’s real conditions. Porcelain tile is the most durable, water-resistant choice for kitchens, baths, entries, and laundry rooms. If you love the look of the wood you are replacing, wood-look porcelain keeps the plank style with none of the moisture worries. For wet rooms, check traction: our guide to tile slip ratings explains the DCOF numbers (ANSI A326.3 sets 0.42 as the minimum for level interior floors expected to be walked on when wet), and our roundup of the best tile options for North Texas kitchens and bathrooms narrows the field room by room.
Browse our full tile catalog, including Dal-Tile, Marazzi, and Ragno collections, or read our tile flooring overview for the basics.
Not sure what is under your wood floor? A free in-home measurement checks existing floor and subfloor conditions before you commit.
Schedule a MeasurementWarning Signs Tile Was Laid Over Hardwood or a Weak Floor
If you bought a home with tile that was set over an old wood floor, or a tile floor is misbehaving, these are the symptoms installers look for:
- Straight-line cracks. Cracks that run across several tiles in a line often follow a joist, a subfloor seam, or the edges of the boards buried underneath.
- Hollow sounds. Tap tiles with a coin or the handle of a screwdriver. A dull, hollow note means the tile has lost its bond with the mortar.
- Crumbling or cracked grout. Grout that keeps breaking out in the same areas is reacting to movement, not to cleaning or age.
- Rocking or tented tiles. Tiles that shift underfoot, or rise into a peak, are telling you the floor underneath is moving or has no room to expand.
- Soft spots near water. A spongy feel near a tub, toilet, or dishwasher points to a wet, swollen, or rotting layer below.
Regrouting treats the symptom. The lasting repair means removing the affected tile, correcting the base, and reinstalling, which is why getting the layers right the first time matters so much.
Alternatives to Tiling Over Hardwood
Sometimes the best answer is not tile at all. Consider these routes before you tear out a good wood floor.
Refinish the hardwood
If the wood is structurally sound and the problem is worn finish, scratches, or an outdated color, sanding and refinishing can make it look new again. Our guide to refinishing versus replacing hardwood walks through the decision.
Choose a tile-look luxury vinyl
Rigid-core luxury vinyl can often float over an existing hardwood floor that is flat, secure, and dry, following the manufacturer’s instructions, and it adds very little height. Tile-look luxury vinyl gives you the stone or ceramic look without mortar, grout, or demolition, and our article on stone-look luxury vinyl shows how convincing it has become.
Go waterproof where the water is
If the goal is protecting a kitchen or laundry room from spills, waterproof luxury vinyl delivers most of tile’s water resistance with a softer, warmer feel.
What Affects the Cost of Replacing Hardwood With Tile?
- Removal. Glued engineered wood takes more labor than a floating floor, and adhesive removal adds more.
- Subfloor or slab preparation. Repairs, a second plywood layer, crack isolation, and leveling compound all add material and time.
- Tile choice and layout. Large-format tile, natural stone, and patterns such as herringbone take more labor than a straight lay.
- Wet-area work. Waterproofing membranes and extra detailing around tubs and toilets.
- Knock-on adjustments. Doors, toilet flanges, appliance clearances, and transitions to other rooms.
If tile is part of a larger kitchen or bath update, our kitchen and bath remodeling and custom showers and tub surrounds services keep the whole project under one roof, and flooring financing can help spread out the cost.
Tile Over Hardwood FAQs
Can you put tile on top of wood floors?
Not directly. Hardwood flooring moves with humidity, flexes, and has a finish that mortar cannot bond to reliably. Remove it and set tile on clean concrete or on a stiff wood subfloor topped with backer board or an uncoupling membrane.
How do you tile over a hardwood floor the right way?
Remove the hardwood to the subfloor or slab, repair and stiffen the subfloor if needed, confirm flatness, add cement backer board or an uncoupling membrane over wood subfloors, and then set tile with full mortar coverage and perimeter movement joints.
Can you put tile over engineered hardwood?
No. Engineered hardwood is still a wood floor with a finished surface, and floating engineered floors are designed to move. Remove it first; glued engineered wood on a slab also requires adhesive removal.
Can you tile over a hardwood floor in a bathroom?
You should not. Bathrooms add water to every weakness of the wood-and-tile combination. Remove the wood, repair any water damage in the subfloor, and use a waterproofing layer where water will stand.
Do you need backer board to tile over a wood subfloor?
You need a tile-ready layer: either cement backer board set in mortar and screwed down, or an uncoupling membrane, installed over a subfloor that meets the stiffness and flatness requirements.
Will tile crack on a wooden subfloor?
Not if the floor meets the L/360 stiffness limit for ceramic and porcelain (L/720 for stone), is flat within tolerance, and has the right underlayment and movement joints. Most cracked tile on wood-framed floors traces back to excessive flex or skipped prep.
Is it cheaper to tile over hardwood than to remove it?
It can look cheaper on day one, but a failed tile floor costs far more to tear out and redo. Removal is the reliable route; if the budget is tight, refinishing the hardwood or floating a tile-look luxury vinyl costs less and avoids the risk.
Can you put luxury vinyl over hardwood instead?
Often, yes. Many rigid-core luxury vinyl floors can float over existing hardwood that is flat, securely fastened, and dry. Check the product’s installation instructions for its specific requirements.
Tile Installation in Denton and Surrounding Communities
Smitty’s Floor Covering installs tile throughout Denton County, from slab homes in newer subdivisions to older homes with wood subfloors that need more preparation. Our crews handle the removal, the installation, and the subfloor repair in between, and our in-house design consultants can help you pick tile that suits the room.
Stop by our showroom at 1815 N Elm in Denton to see tile in person, and read reviews from our customers. We proudly serve Denton, Corinth, Hickory Creek, Krum, and Ponder, plus Argyle, Aubrey, Flower Mound, Lake Dallas, Lewisville, Sanger, and nearby communities.
Ready to Replace Hardwood With Tile?
We’ll check what is under your floor, plan the prep, and install tile that lasts.
Request Your Free Estimate →


