

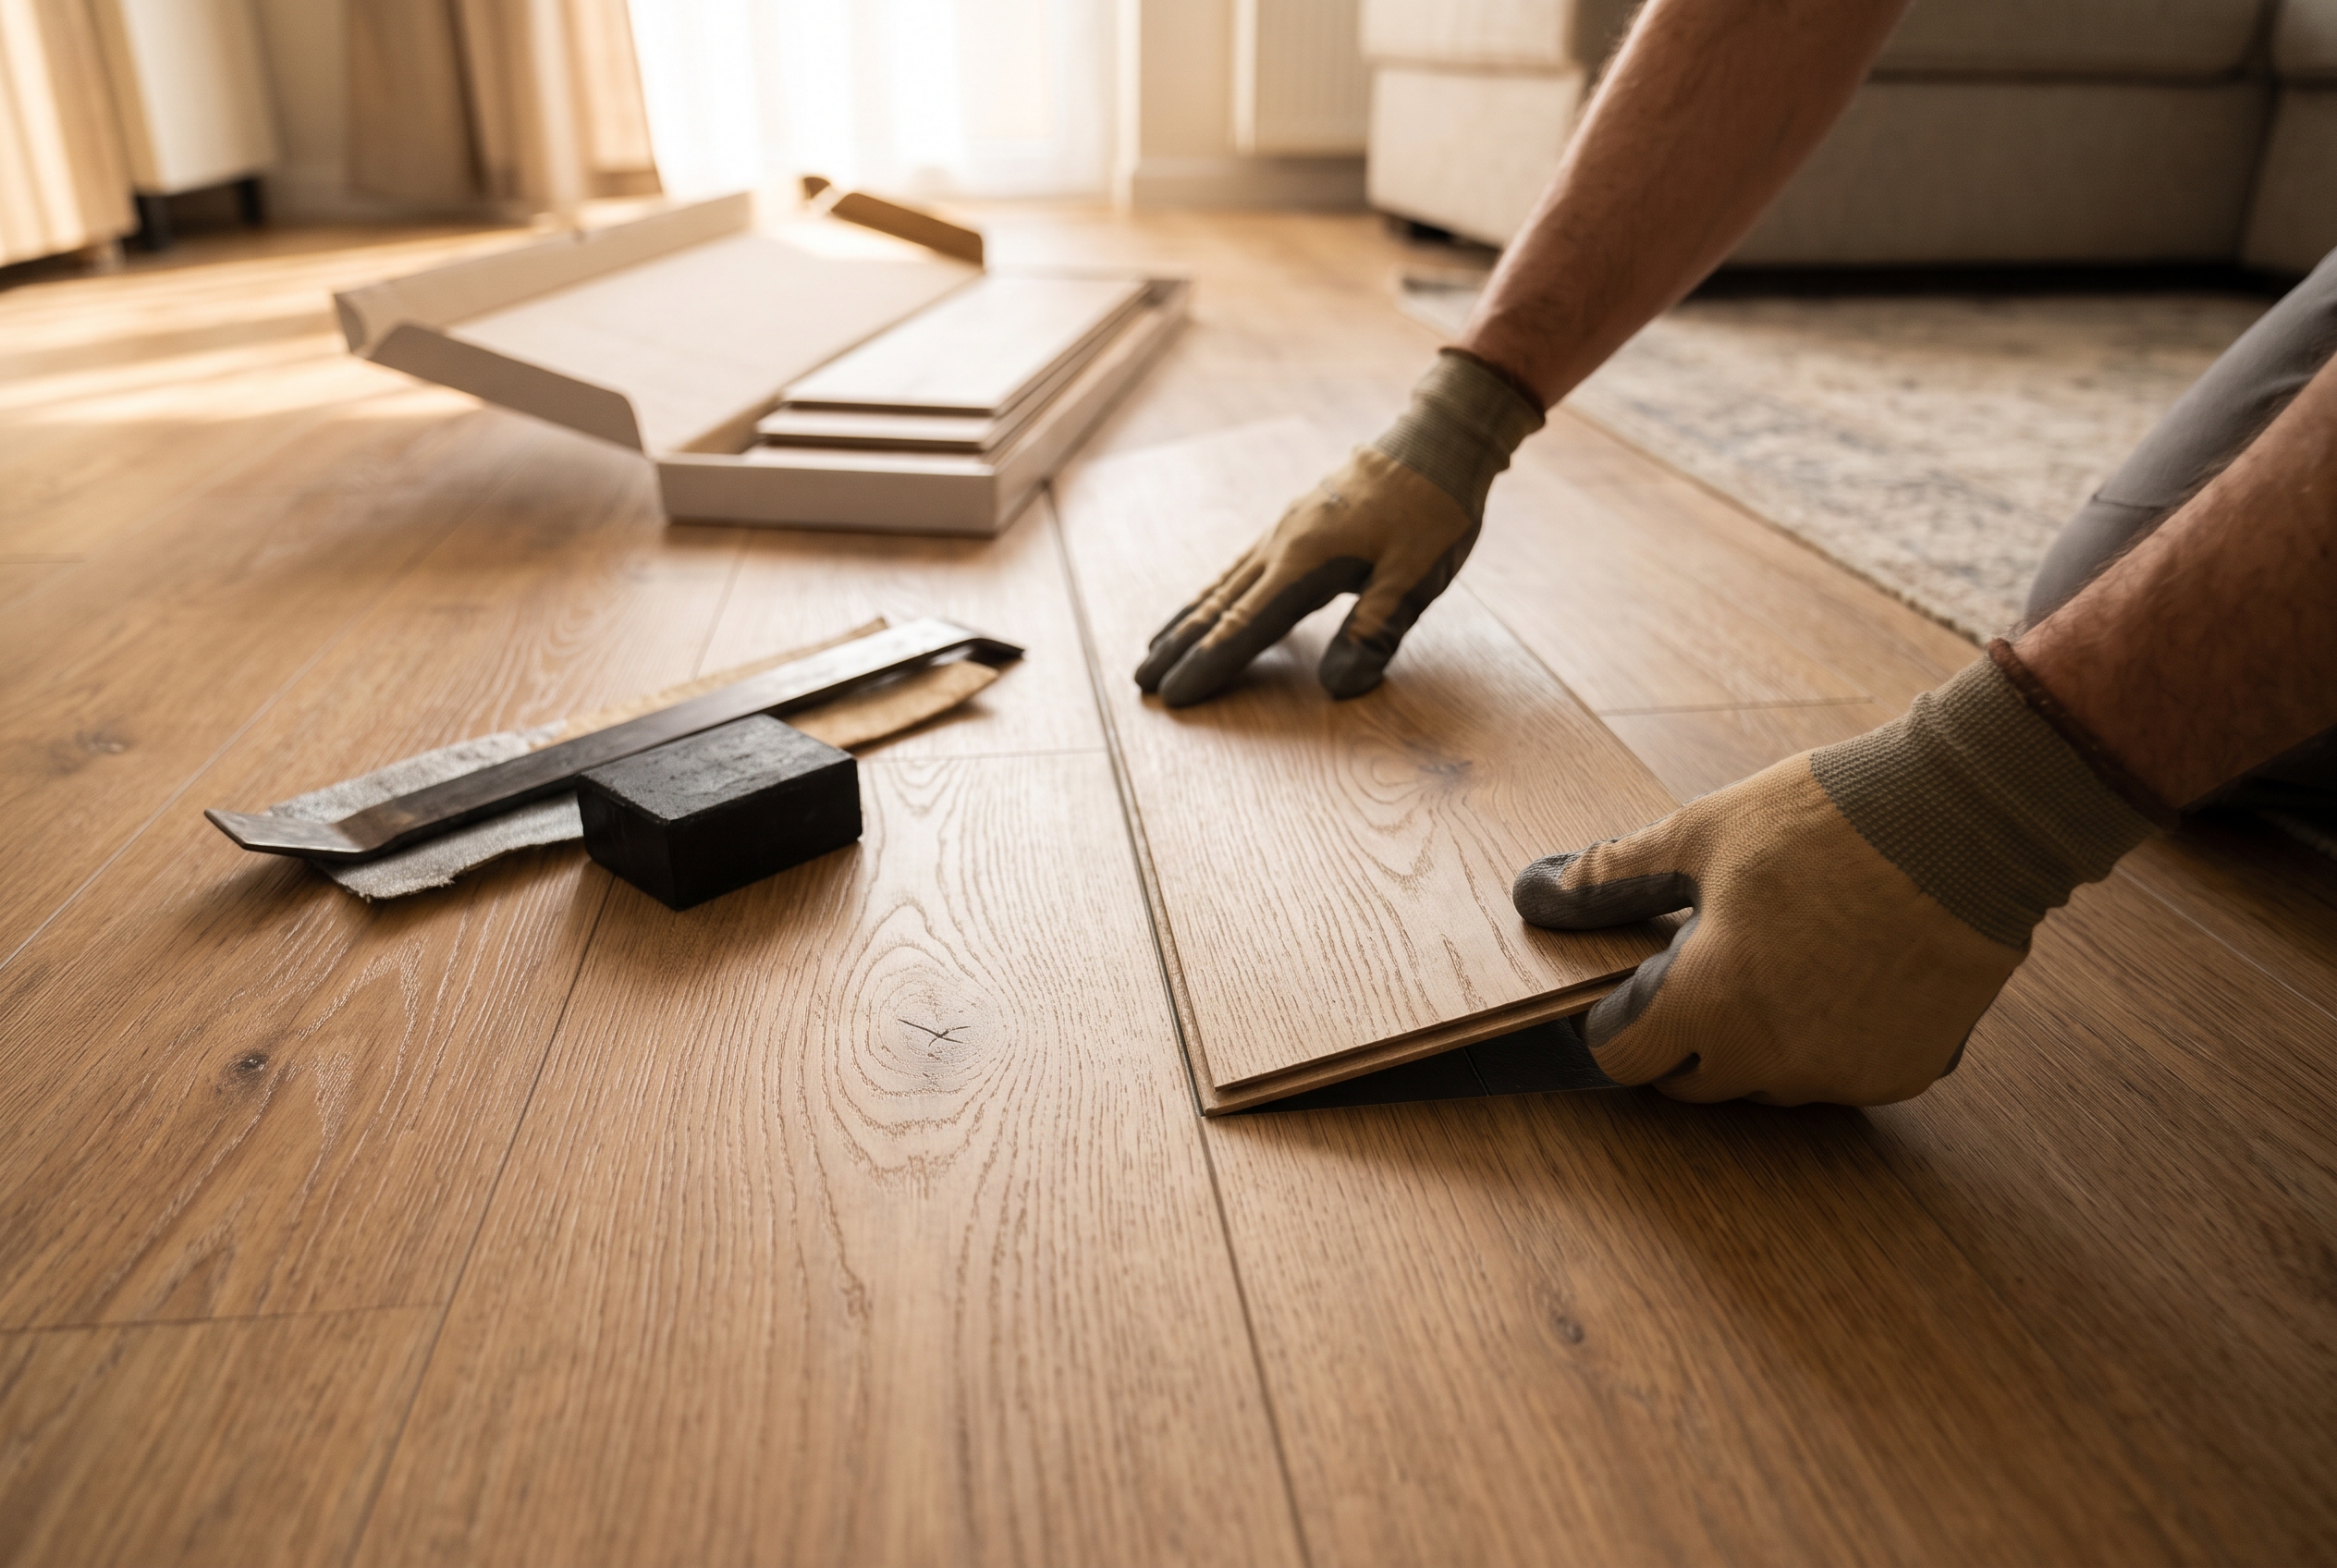
Most damage to a luxury vinyl plank floor can be fixed without tearing out the floor. Shallow scratches can be filled and blended, a damaged plank can be swapped for a spare, and gaps or peaks usually settle back once whatever is squeezing or pinning the floor is freed. Before you start, find out whether your planks click together and float or are glued down, and whether the damage is in the surface or coming from underneath.
| What you see | Likely cause | Where to start |
|---|---|---|
| Fine scratches or scuff marks | Grit, claws or furniture | Clean, then a repair pencil or fill |
| A deep gouge, cut or burn | Something dropped or dragged | Replace the plank |
| A dent | Heavy furniture on narrow legs | Wider protectors under the furniture |
| A stain or yellowed patch | A spill, a solvent or a rubber-backed mat | The maker's stain chart |
| Gaps at the plank ends | Heat and cold, or a loose lock | Tap the planks back together |
| A seam rising into a peak | No room for the floor to move | Free the edges, then reset |
| Edges lifting on a glued floor | Adhesive that let go | Re-glue with the maker's adhesive |
| A spot that clicks or sounds hollow | A dip or debris underneath | Lift the planks and level below |
| Water under the planks | A leak that got past the seams | Lift and dry within two days |
How to Tell Whether Your Vinyl Plank Floats or Is Glued Down
Most vinyl plank laid in recent years floats: the planks click together and rest on the floor beneath without glue. A glue-down floor is bonded to the subfloor with adhesive. That difference decides almost every repair, because a floating floor comes apart row by row from a wall, while a glued plank has to be cut and lifted out.
A few checks tell you which one you have:
- Pull a floor vent cover and look at the edge of the plank. A floating plank is thick and stiff, often with a pad on its back and a locking edge you can see. A glue-down plank is thin and flexible.
- Look along the walls. A floating floor needs a gap at every wall, so it nearly always has baseboard or shoe molding covering one.
- Press hard near a doorway. A floating floor may give very slightly, while a glued floor feels bonded to what's under it.
- Find a leftover carton or the paperwork. The label names the line, and the line's instructions say whether it clicks together or glues down.
How to Fix Scratches and Scuffs in Vinyl Plank
Scuff marks usually come off, and fine scratches can be filled and blended. A scratch that cuts through the clear wear layer into the printed pattern can only be hidden, though, because the look of a vinyl plank is a printed image with nothing underneath to sand back to. Among the brands we carry, Mannington says never to wax, sand or lacquer its ADURA floors.
Clean the spot first, since dirt packed into the texture can look like a scratch. Mannington's stain chart for ADURA Max treats scuffs, marks and light scratches with a clean white cloth dampened with isopropyl alcohol, painter's naphtha or lighter fluid. All three are flammable, so open a window and keep them away from a pilot light. Skip steel wool, abrasive cleaners and scouring powder, which leave a haze of fine scratches of their own.
A scratch that still shows after cleaning gets filled. Vinyl repair kits contain an acrylic putty and color pigments you mix to match the plank, and a wax repair pencil in the nearest color works for hairline scratches. Clean the scratch, press the filler in, and scrape the excess flush with a plastic card.
Buff the spot lightly once the filler sets. On a wood-look plank, draw a grain line through the fill with a fine marker or the darker pigment so it disappears into the pattern.
A scratch across the main walkway, or along the dog's path to the back door, looks better swapped than filled. A thicker wear layer holds up longer against that kind of traffic; ADURA Max carries a 20 mil wear layer. The Pet Friendly filter in our catalog narrows our luxury vinyl to lines rated for dogs and cats, among them ADURA Max, ADURA Apex and Inhaus Ceramin.
How to Repair Deep Gouges, Chips and Burns
A deep gouge or chip in a vinyl plank can be filled, but it will still show up close, and a burn or a cut through the plank means replacing it. A filled gouge interrupts the printed grain, so a repair that's invisible from standing height can still catch the light when you kneel beside it.
To fill a gouge, clean out loose material with a utility knife and press in a hard fill: the putty from a vinyl repair kit, or a hard-wax stick melted into the hole. Build it slightly proud and let it cure. Then shave it flush with a sharp blade held flat and blend the color with the kit's pigments. That's a good repair in a closet, under a sofa or along a wall, and a weak one in the middle of a kitchen.
A burn melts the wear layer and scorches the print, so no fill matches it. Keep traffic off a cut or burn and cover it with masking tape, which keeps dirt and water out until the plank is swapped. A chipped edge at a seam is a replacement too, because the chip usually reaches into the lock, and a plank with a broken lock eventually opens at that joint.
Can Dents in Vinyl Plank Be Fixed?
No, a deep dent in a rigid-core plank usually can't be pulled back out, so the choice is to live with it or replace the plank, and then to keep new dents from forming. Rigid cores resist denting far better than older flexible vinyl. Still, a heavy piece of furniture on a narrow leg or a sharp caster can crush the surface. A light dent in a thinner, flexible plank sometimes eases once the weight is off it, while a crushed spot in a rigid core stays.
Spreading the weight is what prevents dents. Mannington asks for floor protectors at least an inch across, made of non-pigmented hard plastic or non-staining felt, and for casters with a flat surface at least 3/4 inch wide. Karndean recommends large castor cups under heavy furniture to protect against dents.
Swap the narrow metal glides on chairs and stools for wide felt pads. When something heavy has to move across the room, slide it on a sheet of hardboard instead of dragging it.
How to Remove Stains and Discoloration From Vinyl Plank
Most spills wipe off a vinyl plank with a clean white cloth, and the stubborn ones follow your floor maker's stain chart, because Mannington and Karndean don't agree on cleaners. Mannington's chart for ADURA Max uses a cloth dampened with isopropyl alcohol, painter's naphtha or lighter fluid for ink, permanent marker, crayon and hair dye. For food, beverage and rust stains, it uses a cloth soaked in a bleach solution and laid over the stain for no more than an hour.
Karndean takes the opposite view for its floors and warns against household cleaners and bleach-based detergents, which it says can discolor them. So find out which brand and line your floor is before you reach for anything stronger than water. Then work the way the charts do: start with the mildest step, use a white cloth and turn it often so you don't spread the stain, and rinse with clean water between steps.
Some discoloration can't be cleaned, because it sits inside the plank:
- A yellow or brown patch under a doormat or rug comes from its backing. Mannington says rubber-backed, latex-backed and coco fiber mats stain or damage its floors, and Karndean also calls for non-staining mats. The plank gets replaced, and the mat gets swapped for one labeled non-staining.
- Dark tracks near the garage door often come from asphalt or driveway sealer carried in on shoes. Oil and asphalt both stain vinyl, and a doormat outside that door is the prevention.
- A faded strip in front of a window is the sun. Heat and sunlight fade most home furnishings, vinyl included, and closing the blinds during the hottest hours keeps it from spreading.
Why Vinyl Plank Gaps Open, and How to Close Them
Gaps at the ends of floating planks usually open for one of two reasons. The floor shrank in cold weather or after a hot spell, or a joint was never fully locked. Rigid-core vinyl moves far less than laminate or wood, but it still grows and shrinks with temperature. In North Texas, a floor beside a west-facing window can swing a long way between a July afternoon and a January night. A house left without air conditioning or heat for weeks does the same thing to every room at once.
Closing an end gap is a tapping job, done with a scrap of flooring and a tapping block:
- Start at the gap nearest the middle of the row and work toward a wall.
- Lay a scrap plank against the end of the plank you're moving, so the tapping block hits the scrap and spares the locking edge.
- Tap lightly with a rubber mallet until the joint closes. A suction-cup floor-gap tool does the same job by gripping the plank's face.
- Move along the row closing each joint, and let the leftover space end up at the wall under the baseboard.
A gap along the long side of a plank means the long-side lock never seated or has broken. Tapping won't hold it closed for long, so that plank comes out and the lock gets checked. Caulk or wood filler pressed into a moving seam is a cosmetic patch that cracks out with the next temperature swing.
Gaps stay closed when the house stays inside the floor's temperature range. Mannington says the room should never drop below 55 F once its ADURA floors are in, and Karndean asks for 65 to 85 F for best performance. Cartons that weren't given time in the house before installation can shrink once they're down, which is one reason acclimating luxury vinyl matters.
Why Floating Vinyl Plank Buckles or Peaks, and How to Fix It
Buckling and peaking happen when a floating floor runs out of room to move. The expansion gap at a wall, door jamb or pipe closed up, trim or a transition was nailed through the planks, or something heavy and fixed was set on top of them. Mannington asks for a 1/4-inch gap at every wall with no pinch points, and says not to set cabinets or kitchen islands on its floating floors or fasten moldings through them.
Karndean asks for a wider 3/8-inch gap in rooms with big temperature swings, such as a sunroom or a room with sun pouring through glass doors.
Pushing a peak back down cracks the locks, so free the floor instead:
- Pull the baseboard or shoe molding along the walls nearest the peak, and look for planks touching the wall, a door jamb or a pipe.
- Trim those planks back with an oscillating multi-tool until the gap is the size the floor's instructions call for.
- Look for anything pinning the floor: a transition strip screwed through the planks, an island or built-in cabinet set on top, or a run longer than the maker allows without a break. Mannington calls for a transition when a room runs past 50 feet in either direction, and Karndean calls for an expansion joint there. An island or cabinet sitting on the planks gets the planks cut back around its base, so the floor floats free, and a small molding covers the cut.
- Give the floor a day at normal room temperature to settle back down.
- Replace any plank whose lock cracked while the floor was peaked, and put the trim back nailed to the wall.
Sun and heat can buckle a floor too, because a hot floor expands. Mannington suggests one of its glued ADURA floors where direct sun can push a floor past 140 F. If a peak keeps returning in front of the same window, the blinds, a wider gap or a glued floor in that room is the lasting answer.
Why Glue-Down Vinyl Plank Lifts or Curls at the Edges
Edges lift on a glue-down floor when the adhesive lets go, most often because of moisture coming up through a slab, heat, or a cleaning method that flooded the seams. On a slab, moisture rising through the concrete breaks down adhesive from underneath, and widespread lifting there calls for a moisture test before any repair.
A single lifted edge can be glued back down with the adhesive the plank's maker names. Mannington requires its own M-Grip or MT-711 adhesive for its glue-down ADURA Flex, and it extends its bond warranty only when its adhesives are used.
Warm the plank with a hair dryer so it relaxes, lift the edge and scrape out the old adhesive. Spread a thin layer of the new adhesive, press the plank down and keep weight on it while it sets. New ADURA Flex floors are rolled with a 75-pound roller, so a heavy hand roller or a stack of books on a board is the home version.
How to Replace a Damaged Vinyl Plank
One damaged vinyl plank can be replaced on either kind of floor, as long as you have a matching plank. The method depends on where the plank sits and how the floor is installed, and Mannington's instructions for ADURA Max give both floating-floor methods.
How to Replace a Floating Plank Near a Wall
Near a wall, a floating plank comes out by unclicking the rows between it and the wall, which is the cleanest repair and the first method in the ADURA Max instructions:
- Pull the baseboard or shoe molding along the wall nearest the damaged plank.
- Lift the planks in the row against the wall by angling each one up and pulling its end lock apart.
- Number the back of each plank in pencil as it comes up, so they go back in the same order.
- Keep unclicking rows until you reach the damaged plank, and swap in the new one.
- Click the rows back together in reverse order, tap each joint closed with a tapping block, and put the trim back.
Every plank stays a floating, locked plank this way, so nothing about how the floor moves changes. A plank two or three rows out from the wall is an afternoon's work; one deeper in the room takes longer, and that's when the next method makes sense.
How to Replace a Floating Plank in the Middle of the Room
In the middle of the room, the damaged plank gets cut out and the replacement is glued to its neighbors. Mannington's method for ADURA Max goes like this:
- Cut out the center of the damaged plank with a circular saw set to the plank's depth, or an oscillating multi-tool, leaving about a 1-inch strip attached to the planks around it.
- Cut back carefully from each corner to the inside edge, then wiggle the strips free of the surrounding tongues and grooves.
- Prepare the new plank: trim off the leading edge of the tongue on its long side and its end, and cut the bottom of the groove on the short end at an angle so it can drop in.
- Test the fit by hooking its groove onto the neighboring tongue and hinging it down.
- Lift the trimmed side, run a thin bead of Mannington's MSS 20 seam sealer along the three exposed seams, and hinge the plank into place.
- Wipe off the excess, run a hand roller over the edges, and weight the plank for at least 15 minutes while the sealer grips.
A cut-in plank no longer floats with its neighbors on all four sides, which is fine for one plank. Use the sealer named in the instructions for your own floor, since each one is made for its maker's planks.
How to Replace a Glued-Down Plank
A glued-down plank comes out with heat and a putty knife. Warm the damaged plank with a heat gun on low or a hair dryer until the adhesive softens. Cut through the plank lengthwise with a utility knife, lift the pieces from the cut, and scrape the old adhesive off the subfloor so the new plank sits level with its neighbors.
Spread a thin coat of the adhesive the maker names with the notched trowel its instructions call for, and set the new plank in. Press it down from the center out, roll it, and keep weight on it until the adhesive sets. For ADURA Flex, that means M-Grip or MT-711 and a firm roll.
How to Find a Plank That Matches
The best match is a plank from the cartons left over from your own installation, because it shares the floor's line, color and production run. The carton label carries the line and color names and the run. Mannington even asks installers to check carton labels so ADURA Max made in different countries isn't mixed in one floor, which shows how much the label matters when you're matching.
A floor that has lived in the sun for years may have faded enough that even an exact match looks new. In that case, move a plank: take one from a closet, under the refrigerator or behind a sofa, put it where the damaged plank was, and put the new plank in the hidden spot. When a line has been discontinued and there are no spares, a closet is the place to borrow from. For any floor you install from now on, keep a carton of spares.
What Should You Do When Water Gets Under Vinyl Plank?
Lift the planks and dry the floor underneath within a day or two, because the planks may be fine but the floor under them is not. A waterproof vinyl plank keeps water out of the plank, not out from under it, and water that gets past the seams can sit on a wood subfloor or a slab where nobody can see it. The EPA's guide to mold and moisture says water-damaged areas should be dried within 24 to 48 hours to keep mold from growing.
- Stop the source: shut off the dishwasher, the toilet supply, the water heater or the main.
- Pull up standing water with towels or a wet vacuum. Karndean warns that standing water on its floors is a slip hazard, too.
- Take up the trim and lift the floating planks from the nearest wall back past the wet area, numbering them as they come up.
- Dry the subfloor or slab with fans and a dehumidifier until it's dry to the touch and stays dry for a day. Wipe the backs of the planks.
- Check for mold or a musty smell before anything goes back down.
- Click the dry planks back in and replace the trim.
Rigid-core planks are made for this. Mannington calls ADURA Max a completely waterproof product, though it isn't responsible for mold or mildew from excess moisture. Karndean says its rigid core won't absorb, swell or be damaged by water. So planks with intact locks usually go back down. A waterproof core that dried out quickly is why they do, and the mold risk under the floor is why the drying can't wait.
A glued floor can't be lifted and relaid, so a soaked area usually gets cut out, dried and replaced. A wood subfloor that stayed soft after drying, or swelled at its seams, needs repair before any floor goes back over it, and that's our subfloor repair work. If the leak may be an insurance claim, photograph everything before you lift a plank.
Why Vinyl Plank Clicks, Crackles or Sounds Hollow
A floating plank that clicks, crackles or sounds hollow is bridging a dip or riding on something underneath, and the fix is under the floor. Each step flexes the plank over the low spot, the locks rub, and over time the joint loosens. The usual causes are a subfloor that isn't flat, debris left under the planks, a loose tile or board beneath, or a soft or doubled underlayment.
Mannington and Karndean both want the floor under their rigid planks flat to within 3/16 inch over 10 feet. Lift the planks over the noisy spot, vacuum out any debris, and run a straight edge across the floor. Fill a dip with a cement-based patch, or grind or sand down a high spot.
If someone added a foam pad under planks that already had one attached, take it out. Mannington says additional pad isn't recommended under ADURA Max, and a second underlayment lets the locks flex with every step. A floor that clicks all over, or sits on an old house's sloping subfloor, needs the whole base looked at, starting with the foundation, the framing and the subfloor itself.
Should You Repair a Few Planks or Replace the Whole Floor?
Repair it when the damage is in a few planks, you have planks that match, and the floor around them is sound. Replace it when the damage is spread across rooms or keeps coming back from underneath. Most floors fall clearly on one side or the other.
These signs say a vinyl plank floor is worn out, not just damaged:
- The wear layer has worn through to the print in the traffic lanes, so the pattern looks washed out in a path through the room.
- Gaps reopen every season even after they're tapped closed, which points to locks that have worn or broken.
- Peaks come back after the floor has been freed, which usually means the floor underneath is the problem.
- Water has been under several rooms, or more than once.
- The line has been discontinued and there's nothing left to match a repair.
The floor's age counts too. HomeAdvisor's guide to vinyl flooring costs says vinyl floors can last 10 to 25 years when they're cared for and kept from water damage. A floor near the end of that range, with worn traffic lanes and faded strips, is usually a better candidate for new planks than for another round of patches.
When one room is damaged and the next one is fine, there's a middle path: the damaged room can get new planks with a transition molding at the doorway, so the rooms read as two floors on purpose. Our luxury vinyl catalog has the attached-pad and pet-friendly lines we'd look at first for a room like that.
What Vinyl Plank Repair Costs
HomeAdvisor's cost guide for vinyl floor repair puts the national average for a professional repair at about $500, with most jobs running $440 to $630. The same guide prices vinyl plank repair at about $9.50 to $12 a square foot for labor and materials, and most professional repair jobs at $370 to $770. Doing it yourself costs much less in money and more in time.
| Repair item | National cost | What it covers |
|---|---|---|
| Vinyl repair kit | From about $20 | Putty and pigments for scratches and nicks |
| Replacement planks | About $3 to $5 a square foot | Sold by the full carton |
| Plank cutter | About $125 | Clean cuts without a saw |
| Tapping kit | About $25 to $30 | Tapping block, pull bar and spacers |
| Professional repair | About $370 to $770 | Labor and materials for most jobs |
When the floor is past repair, the same company's vinyl flooring guide puts new luxury vinyl plank at about $3 to $10 a square foot for the planks and $3 to $10 for labor. That makes a 250-square-foot room about $1,500 to $5,000. Moving appliances, pulling and resetting trim, and any subfloor repair the old planks were hiding add to either job. We price a new floor at the free in-home measurement.
Is Vinyl Plank Damage Covered by the Warranty?
A vinyl plank warranty usually doesn't cover damage, because most damage comes from everyday use and not from a flaw in the plank. Warranties on vinyl plank generally cover defects in the plank and wear-through under normal household use. Scratches, dents, burns, pet damage, water from leaks, installation problems and damage from cleaning methods the maker doesn't allow generally fall outside them.
The warranty booklet for your line is what a claim is judged by, so keep it with the spare carton. Some conditions are specific to a line. Mannington, for instance, extends its bond warranty on glue-down ADURA Flex only when its own adhesives are used, and its warranties don't cover problems caused by a radiant heating system that runs too hot.
How to Keep Vinyl Plank From Getting Damaged Again
To prevent damage to vinyl plank, keep grit, narrow furniture legs, heat and standing water off it. Each has a simple guard:
- Mats outside every entrance and non-staining mats inside, since grit is what scratches a wear layer.
- Wide felt or hard plastic protectors under every chair, table and sofa leg.
- Blinds drawn on west- and south-facing windows during the hottest hours.
- A thermostat that keeps the house inside the floor's temperature range, even when it's empty for a few weeks.
- Spills wiped up promptly, and a mop wrung out until it's just damp.
The everyday routine of sweeping and damp-mopping is its own subject, and keeping luxury vinyl looking new covers it.
How We Help With Vinyl Plank Floors in Denton County
At Smitty's Floor Covering in Denton, we sell luxury vinyl plank and our installers put it down. When a floor keeps failing because of what's under it, our subfloor crews fix the base first, whether that's a dip, a soft spot or a water-damaged panel. When a floor is ready to be replaced, we start with a free measurement at your house, look over the existing floor and what's beneath it, and price the new floor room by room.
For a busy household, the attached-pad and pet-friendly lines in our catalog are where we'd begin, and our flooring financing can spread the cost of the whole project. Our family has run this store since 1958, and we're in and out of homes all over Denton County, from Denton and Corinth to Krum and Ponder. Bring a damaged plank or a leftover carton to our showroom on North Elm and we'll compare it with what we carry.
Questions About Repairing Vinyl Plank
Can You Sand or Refinish Vinyl Plank?
No, vinyl plank can't be sanded or refinished. Its wood or stone look is a printed layer under a thin clear wear layer, so sanding would cut through to the print or the core within seconds. The fixes for a worn or scratched plank are a filler from a repair kit, a plank swap, or a new floor when the wear is everywhere.
Can You Paint Over Damaged Vinyl Plank?
No. Paint doesn't bond well to a wear layer that's made to shed dirt and stains, and in any walkway it wears off in a few weeks, leaving a patchy edge that looks worse than the damage. A repair kit's tinted putty is made for spot repairs. A damaged plank in a traffic lane gets replaced.
Can You Use a Steam Mop on Vinyl Plank?
It depends on the floor's maker. Mannington approves residential steam cleaners made for hard floors on ADURA Max, while Karndean warns against standing water on its floors and points owners to its own pH-neutral cleaners. Check the care page for your line before you use one, and never let a steam mop sit in one spot, where the heat collects in a single plank.
What Glue Do You Use to Repair Vinyl Plank?
Use the adhesive or seam sealer the plank's maker names. Mannington's repair method for ADURA Max uses its MSS 20 seam sealer on a cut-in plank, and its glue-down ADURA Flex goes down only with its M-Grip or MT-711 adhesive. Construction adhesive from the hardware store is known to stain vinyl, so it's the wrong glue for a plank repair.
Getting a Worn or Damaged Floor Looked At
A plank swap or a closed gap can buy a floor years more, and most of these repairs take an afternoon. When the damage keeps coming back from underneath, or the floor has simply worn out, we'll check what's under it and measure the rooms for new planks. Start with a free in-home estimate.


